
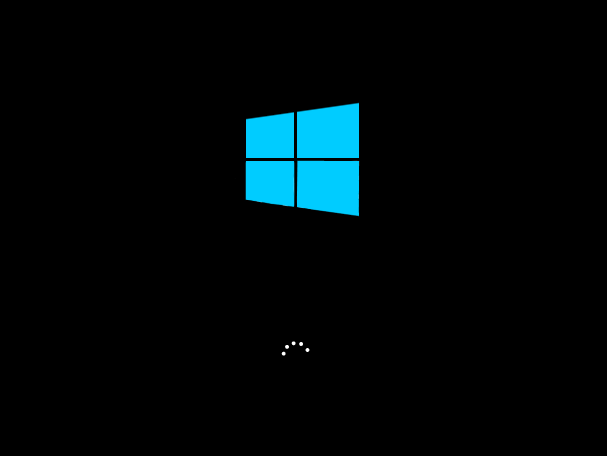
Windows 8 is being popular day by day. Some of the users are upgrading their Windows 7 into 8. Some other makes a custom installation. When we make a new installation(custom installation) the previous operating system will remain unchanged and an extra entry will be added to the boot menu. Sometimes we have to remove the previous operating system after the installation of new one.
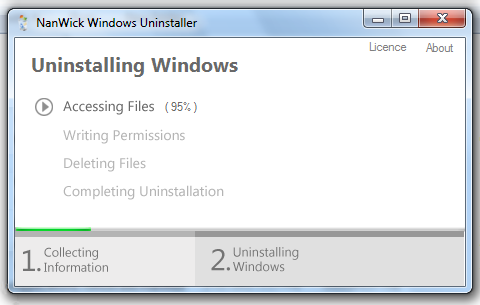
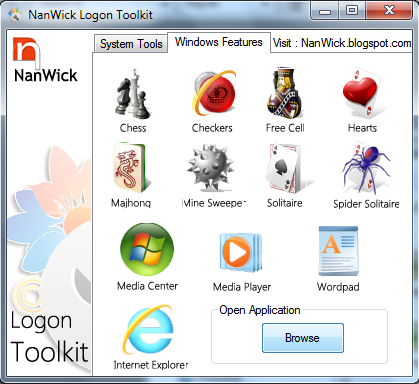
Today we are introducing a new tool names NanWick Windows Uninstaller. Which will help you to remove following Windows installations :
You have to follow some simple steps to uninstall Windows in this tool, Which are mentioned in this tool itself.

You can download this tool using following link :
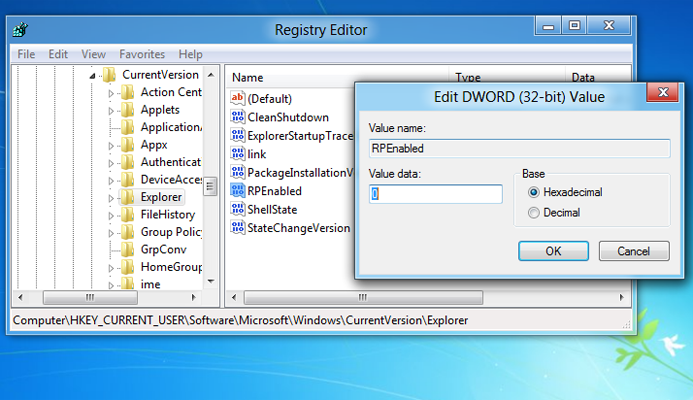
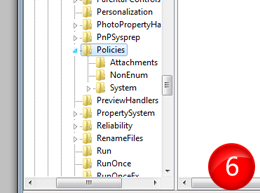
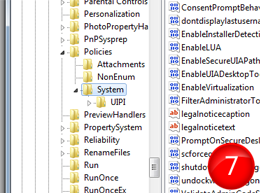
1. Download following registry script, double click and merge it into the registry. Which will add a new option named Take Ownership into your context menu.
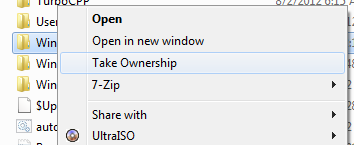
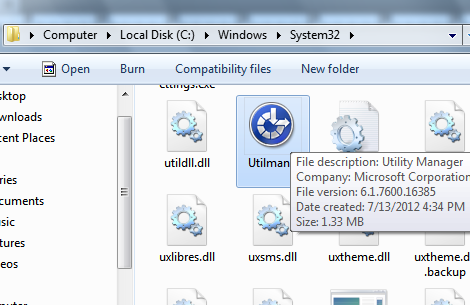
2. Open the drive in which you are installing your Windows(say C). Right click Windows folder and select Take Ownership.

3. Do the same for following files and folders also :
(1) Program Files
(2) Users
(3) ProgramData
(4) $Recycle.bin
(5) Recovery
(6) Config.Msi
(7) Documents and settings
(8) hiberfil.sys
(9) pagefile.sys
(10) config.sys
(Note : Some of the files mentioned may be hidden, You can make it visible by Press Alt key, go to Tools->Folder Options, Under View tab select Show hidden files,folders and drives).
4. Delete the files and folders which you have taken ownerships.
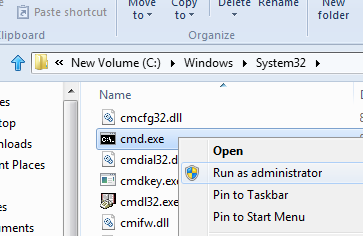
5. Open start menu, type cmd and press Ctrl+Shift+Enter.( Those who are using Windows 8 go to C:\Windows\System32 , right click on cmd.exe and select Run as Administrator).
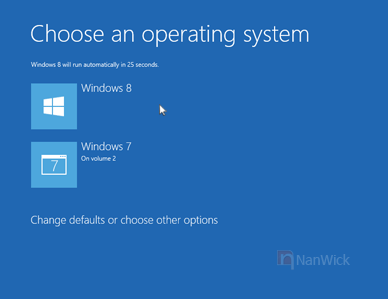
6. Type BCDEDIT in cmd window and press Enter. Which will list boot menu entries. Search for your Windows on it and copy the code placed after the identifier.

7. In the same Windows type becdedit /delete {paste the code which you copied in the above step} and press Enter. (For example : bcdedit /delete {1f2f9f42-1fd9-11e2-98d2-b9405748522b}), Which will remove OS entry from the Boot menu.
Today we are introducing a new tool names NanWick Windows Uninstaller. Which will help you to remove following Windows installations :
- Windows Vista
- Windows 7
- Windows 8
You have to follow some simple steps to uninstall Windows in this tool, Which are mentioned in this tool itself.
You can download this tool using following link :
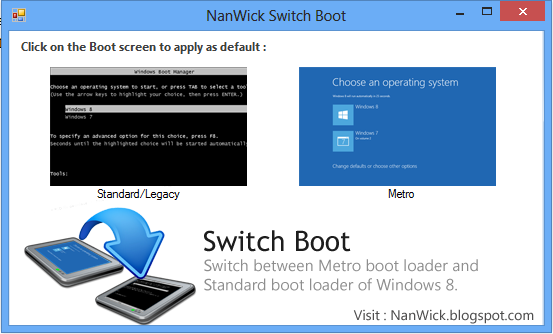
In Action :
What happens behind
Users who are interested to know what happens behind this tool and to remove your Windows manually follow the given steps :1. Download following registry script, double click and merge it into the registry. Which will add a new option named Take Ownership into your context menu.
2. Open the drive in which you are installing your Windows(say C). Right click Windows folder and select Take Ownership.
3. Do the same for following files and folders also :
(1) Program Files
(2) Users
(3) ProgramData
(4) $Recycle.bin
(5) Recovery
(6) Config.Msi
(7) Documents and settings
(8) hiberfil.sys
(9) pagefile.sys
(10) config.sys
(Note : Some of the files mentioned may be hidden, You can make it visible by Press Alt key, go to Tools->Folder Options, Under View tab select Show hidden files,folders and drives).
4. Delete the files and folders which you have taken ownerships.
5. Open start menu, type cmd and press Ctrl+Shift+Enter.( Those who are using Windows 8 go to C:\Windows\System32 , right click on cmd.exe and select Run as Administrator).
6. Type BCDEDIT in cmd window and press Enter. Which will list boot menu entries. Search for your Windows on it and copy the code placed after the identifier.
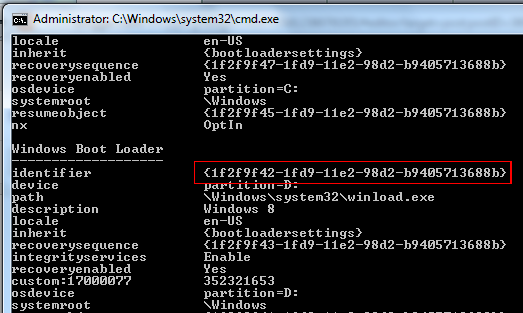
7. In the same Windows type becdedit /delete {paste the code which you copied in the above step} and press Enter. (For example : bcdedit /delete {1f2f9f42-1fd9-11e2-98d2-b9405748522b}), Which will remove OS entry from the Boot menu.


